
by Gary Edwards, Peachtree Technical Advisor
When I lived in Chesapeake Virginia, my next door neighbor was a nuclear engineer and Mercedes enthusiast, Jim Freeh. I was a long term Porsche hobbyist and Jim was always trying to lure me over to Mercedes. One day, when my 1983 Porsche 944 was driving me up the wall intermittently not starting, Jim brought over a 1993 400E, wanting me to drive it and saying he was thinking of selling it. I drove it for a day and was surprised by how a relatively stodgy looking car with a relatively comfortable ride could corner so well. The next day I told him I wanted to buy it, he said he wasn’t sure he wanted to sell it. He did sell it to me, however, and it became my first (of many) Mercedes. I used it as a daily driver for many years, but lately I’d been neglecting the car.
I finally decided to fix its issues and start driving it more often. The car had a large power steering fluid leak to the point where I had to add fluid every couple of days. Researching this, I learned that there are generally two power steering leak sources for these cars. One was the rubber hose that leads from the power steering fluid reservoir to the pump inlet. The other was the pump seal itself. I also learned that there are two different manufacturers of power steering pumps for these cars and the pump rebuild kits are different, so it was necessary to determine what pump I have. The name plate data on the pump is on the side of the pump and if you have a leak, I can guarantee that this will be totally obscured by grime and dirt. I expended about a can of brake clean on it and with the help of my iPhone camera I was able to determine that I had a ZF pump, so I was able to order rebuild kits (I ordered two). I was also to use this information to order the right hose for the pump inlet line (they are also different).
Neither of the potential leak locations are visible without disassembly, so the obvious method of leak location, cleaning and looking for the leak, was not possible. I did notice, however, that when the car sat undriven with the engine not being started, the level didn’t seem to go down. It went down drastically when the car was being driven, and from that I inferred that the issue was probably the pump seal not the supply line. I reasoned that since the inlet line is under the same pressure whether the pump is running or not, one would think that if that were the source of leakage, it would leak whether the car is being driven or not. The pump seal most likely only sees pressure when the pump is running. I ordered enough parts to do both just in case, plus we must take off the pump inlet line to do the pump seal repair. You also can’t just buy a little bit of the hose so you must buy a foot of the hose, which is expensive.
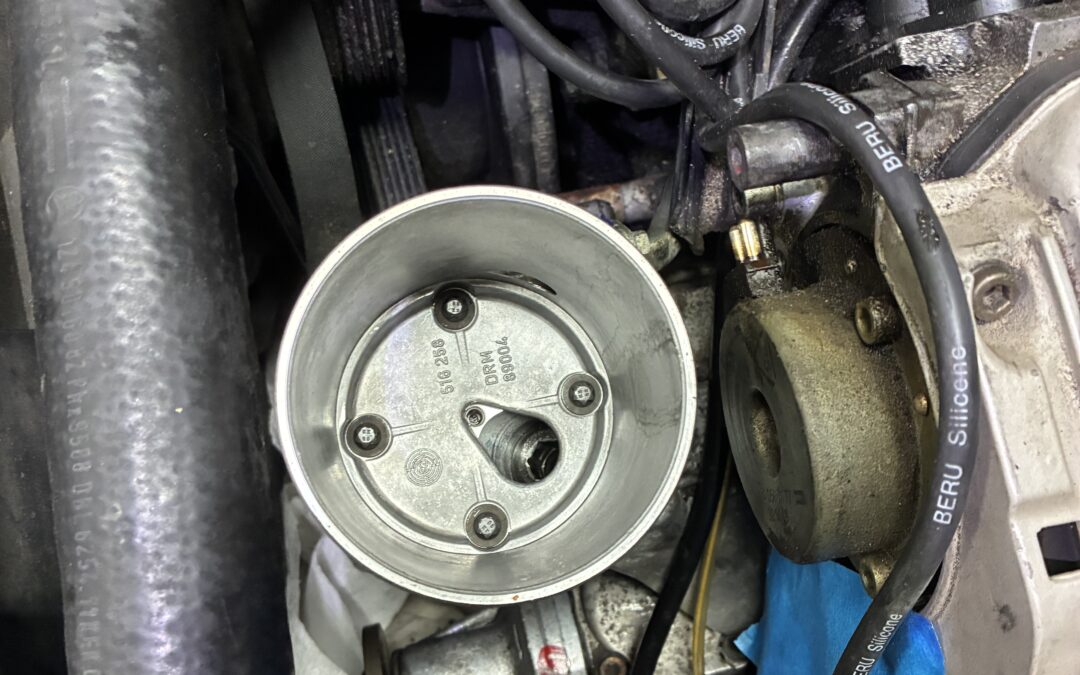
This total repair is probably a moderate level of difficulty, and this repair will likely be applicable to most of the M119 engined cars, though the 500E has a tandem power steering pump which is slightly different. The reservoir is only held on by several small bolts through the bottom, but there is a threaded rod up through the middle that holds on the top and secures the spring and the level indicator. There is a 10 mm nut to unscrew to get the level indicator and the spring out which also allows access to pull the filter. I used two 10mm nuts to allow me to unscrew the threaded rod, which is needed for access to remove the reservoir. Removing the reservoir is a little subtle, however, because the hose leading to the pump inlet is hose clamped onto a barb that extends through the bottom of the reservoir. The hose barb, however, is not a part of the reservoir, it is threaded into the bottom of the reservoir. It must be removed before you can remove the reservoir. It takes a large Allen socket to unscrew it after having first loosened the hose clamps that hold the hose onto the barb. Once you do that you can totally unscrew the barb and remove it from the bottom of the reservoir. There is a sealing ring under the barb. Before unbolting the reservoir, you also need to remove the return line from the reservoir. It’s a hard pipe, sealed with an O-Ring that enters the rear of the reservoir. For access you’ll need to remove the plastic cover from the driver side distributor, the distributor cap and the plastic cover under the distributor cap.
Once the return line is removed, you can unbolt the bottom of the reservoir, separate it from the base, and carefully extract the gasket below it. I did not have a replacement gasket, so I had to reuse this one. When the reservoir is removed access to the hose and the power steering pump itself becomes a lot easier. The serpentine belt must also be removed, however before you do that, loosen the bolts on the pulley for the power steering pump. This allows you to remove the power steering pump pulley once the belt is off.
Now make sure everything is scrupulously clean since this is a hydraulic system and it’s particularly intolerant of dirt or particulate contamination. You now have good access to the bolts that restrain the front of the power steering pump and taking off just the front of the pump is the best strategy to do this repair. If you try to remove the entire pump, you’ll find that some of the rear bolts are nearly inaccessible, and the seal that’s leaking is the front shaft seal which you can readily change just with the front of the pump removed.
After removing the bolts holding the pump together, you can remove the front of the pump. Take it to your very clean workbench for the next part. Take pictures and make certain you understand the orientation of the pump section before disassembly. You’ll see an oddly shaped seal backed by a rigid seal shape. This whole piece just lifts off exposing the end of the shaft and the rotating assembly. Pay close attention to its alignment, it only goes in one way and there are alignment marks for reference. It’s important as you remove this housing that you pay special close attention to the removable paddles that are around the wheel that is exposed. There is no longer anything holding them in once the housing is removed. They only go in in one orientation so look very carefully at these paddles and make sure that for any of them that fall out you put them back in the right way or the pump will not work. I was able to do this with only one or two falling out so I could compare them to the panels that remained in to ensure I had the orientation correct. There is a shiny somewhat rounded side you could use for reference on each of the panels.
You’ll see the end of the shaft with an incredibly small C clip on the end. It’s holding this assembly together. Many of the forum posts noted a very difficult time removing this very tiny C clamp. I also had a hard time, and I wish I had obtained a new one as I certainly damaged it a little bit, removing it using a very small pin spanner to eventually spread it enough to get some very small screwdrivers under it and pry it off. Once this is done, you can take off the rotating assembly. The shaft then pulls out of the pump, and you have access to the front seal.
I was astounded as I was removing the front seal – it was so brittle that it came out in pieces, and clearly this was the source of my leakage. It was not difficult to extract the old seal or to push in a new seal to about the same depth. I used brake clean to clean off this section of the pump since I ended up with seal fragments everywhere, and I don’t believe I did a good enough job cleaning up the brake clean, which gave me a problem later. I reassembled it reusing the C clamp which I flattened and tried to push back together. Using new seals for those that I had and using a new hose for the inlet line I put it back together, refilled the reservoir – and found that my fluid had turned milky! I’m still dealing with that issue. I believe that I left enough contamination from brake clean that it mixed with the fluid and caused milkiness. I’m still doing a drain and refill process to get the fluid back to normal, but the leak has stopped.
The power steering is now working normally. I really kicked myself for not doing this earlier as it wasn’t a particularly difficult job and driving the 400 E again, even with 294,000 miles, made me realize why this car had hooked me on Mercedes when I first bought it over 20 years ago.
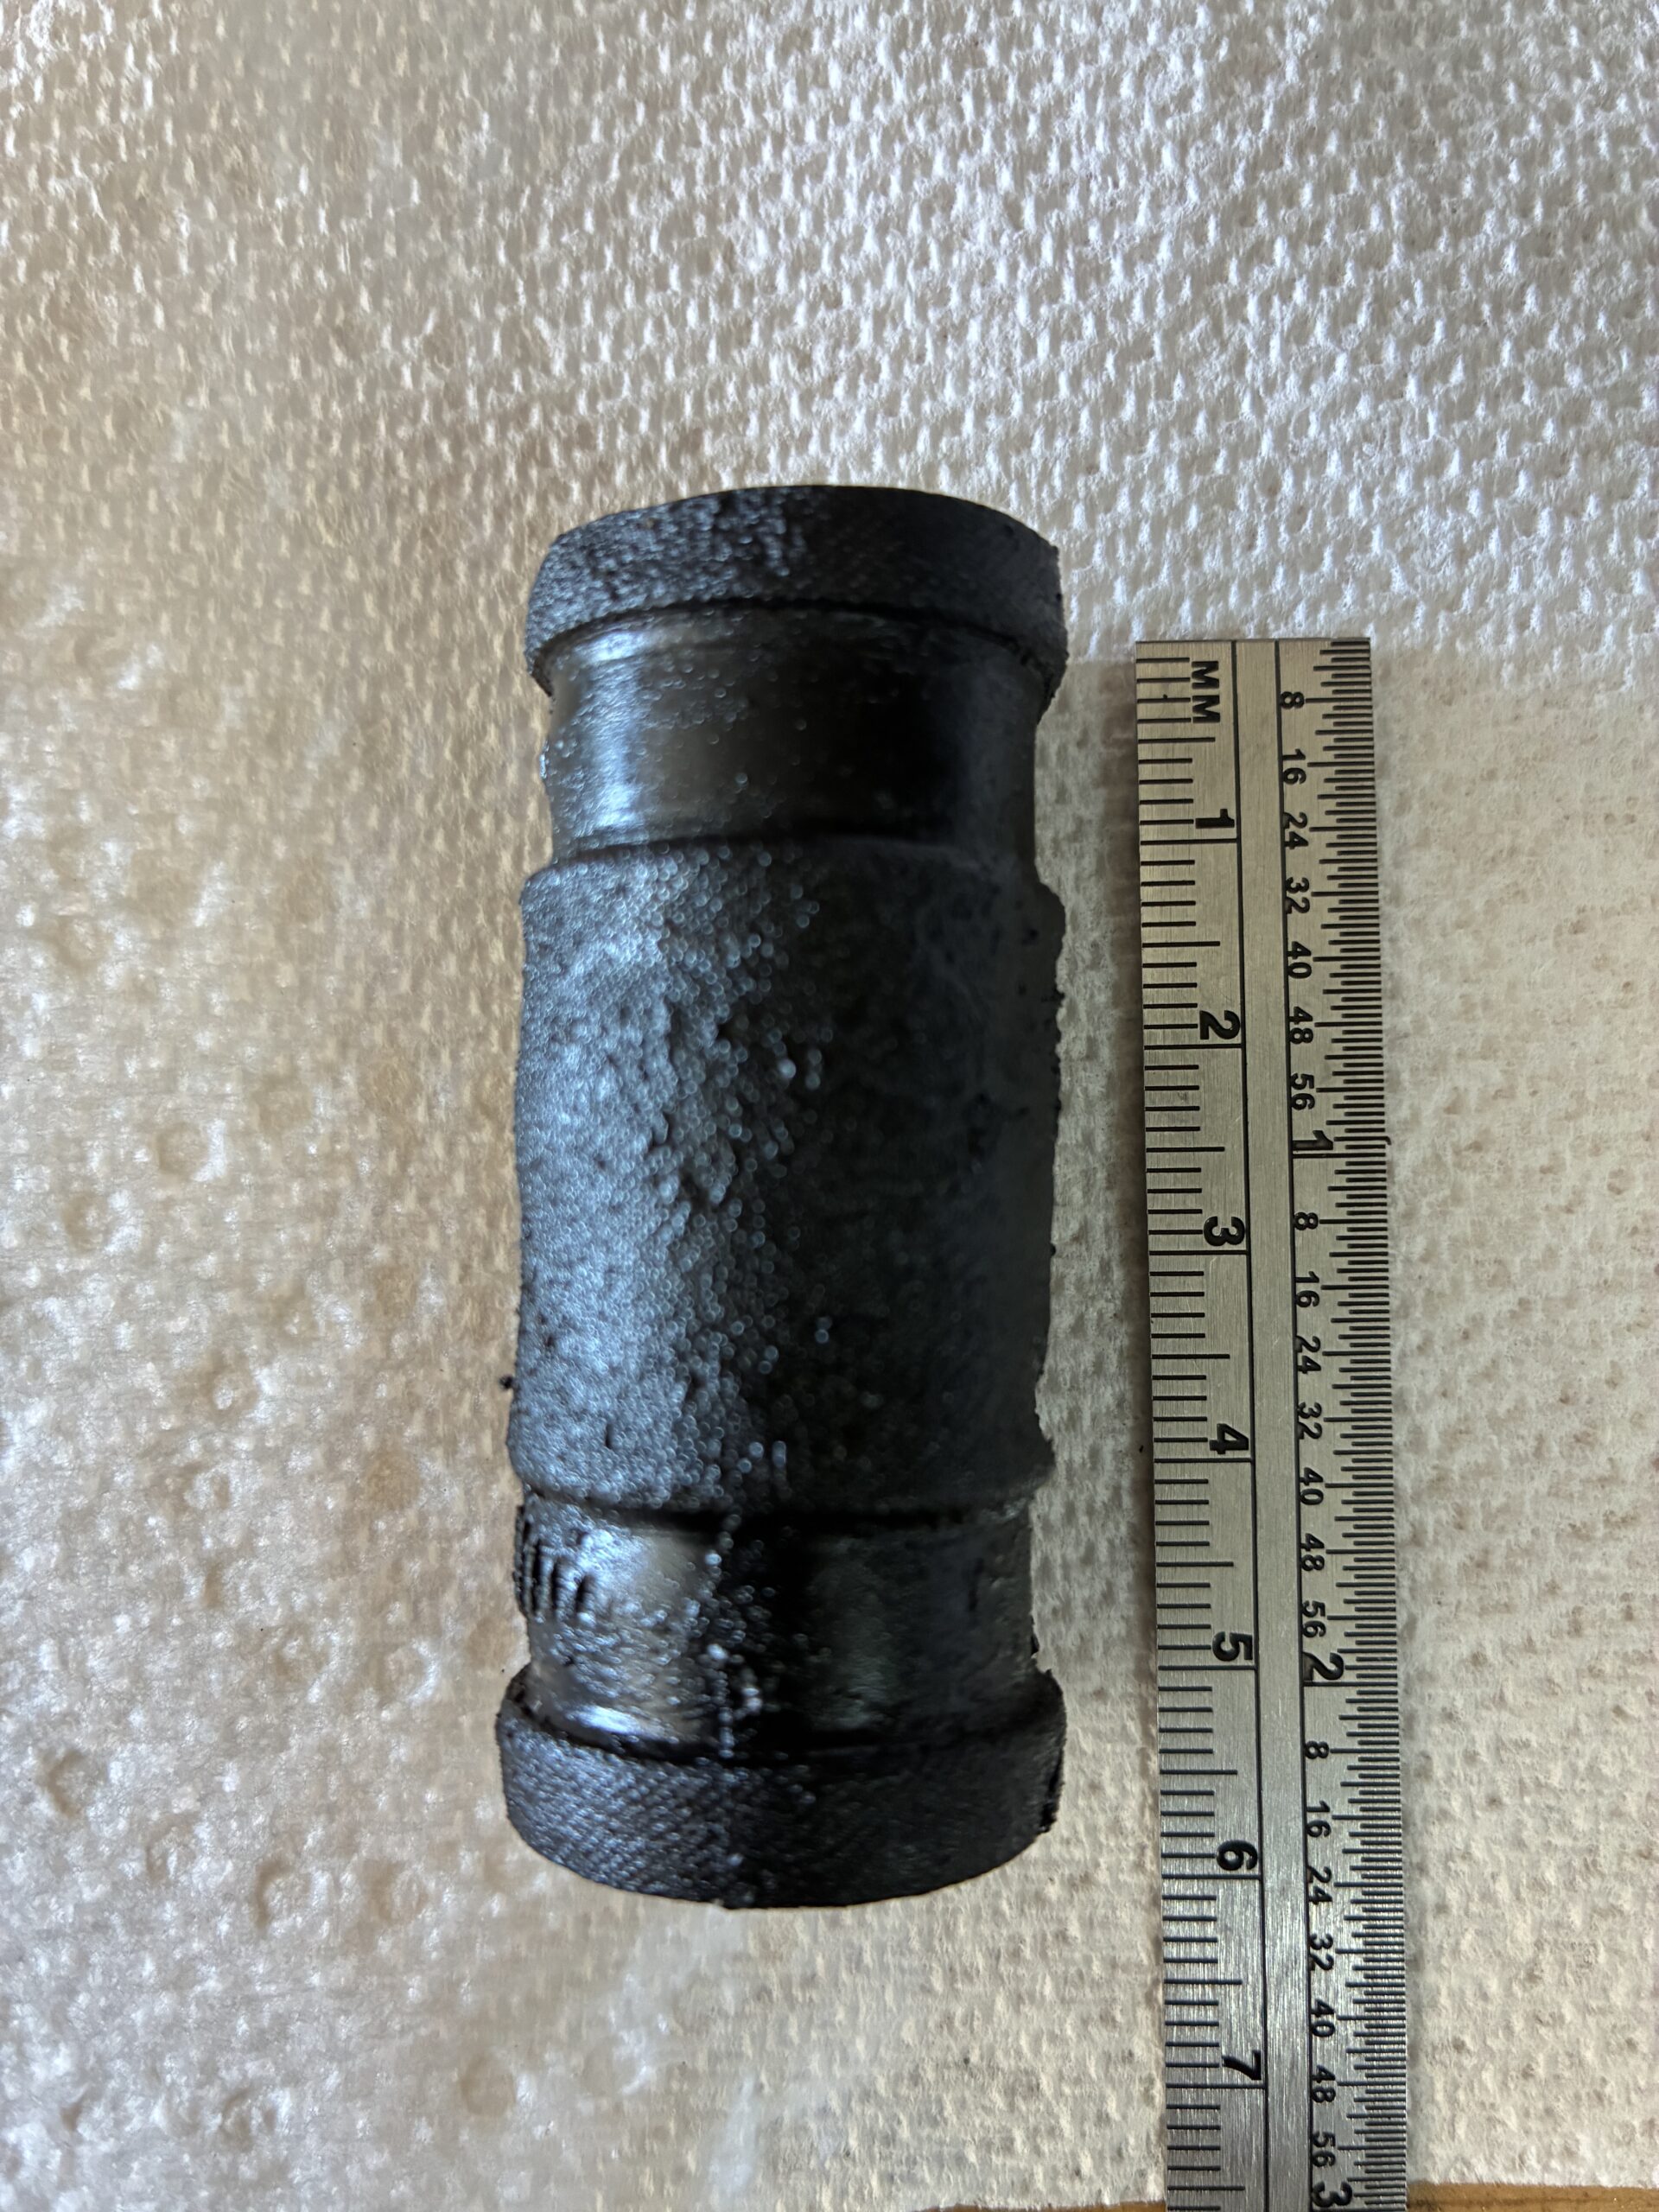
The very old, very stiff pump inlet hose
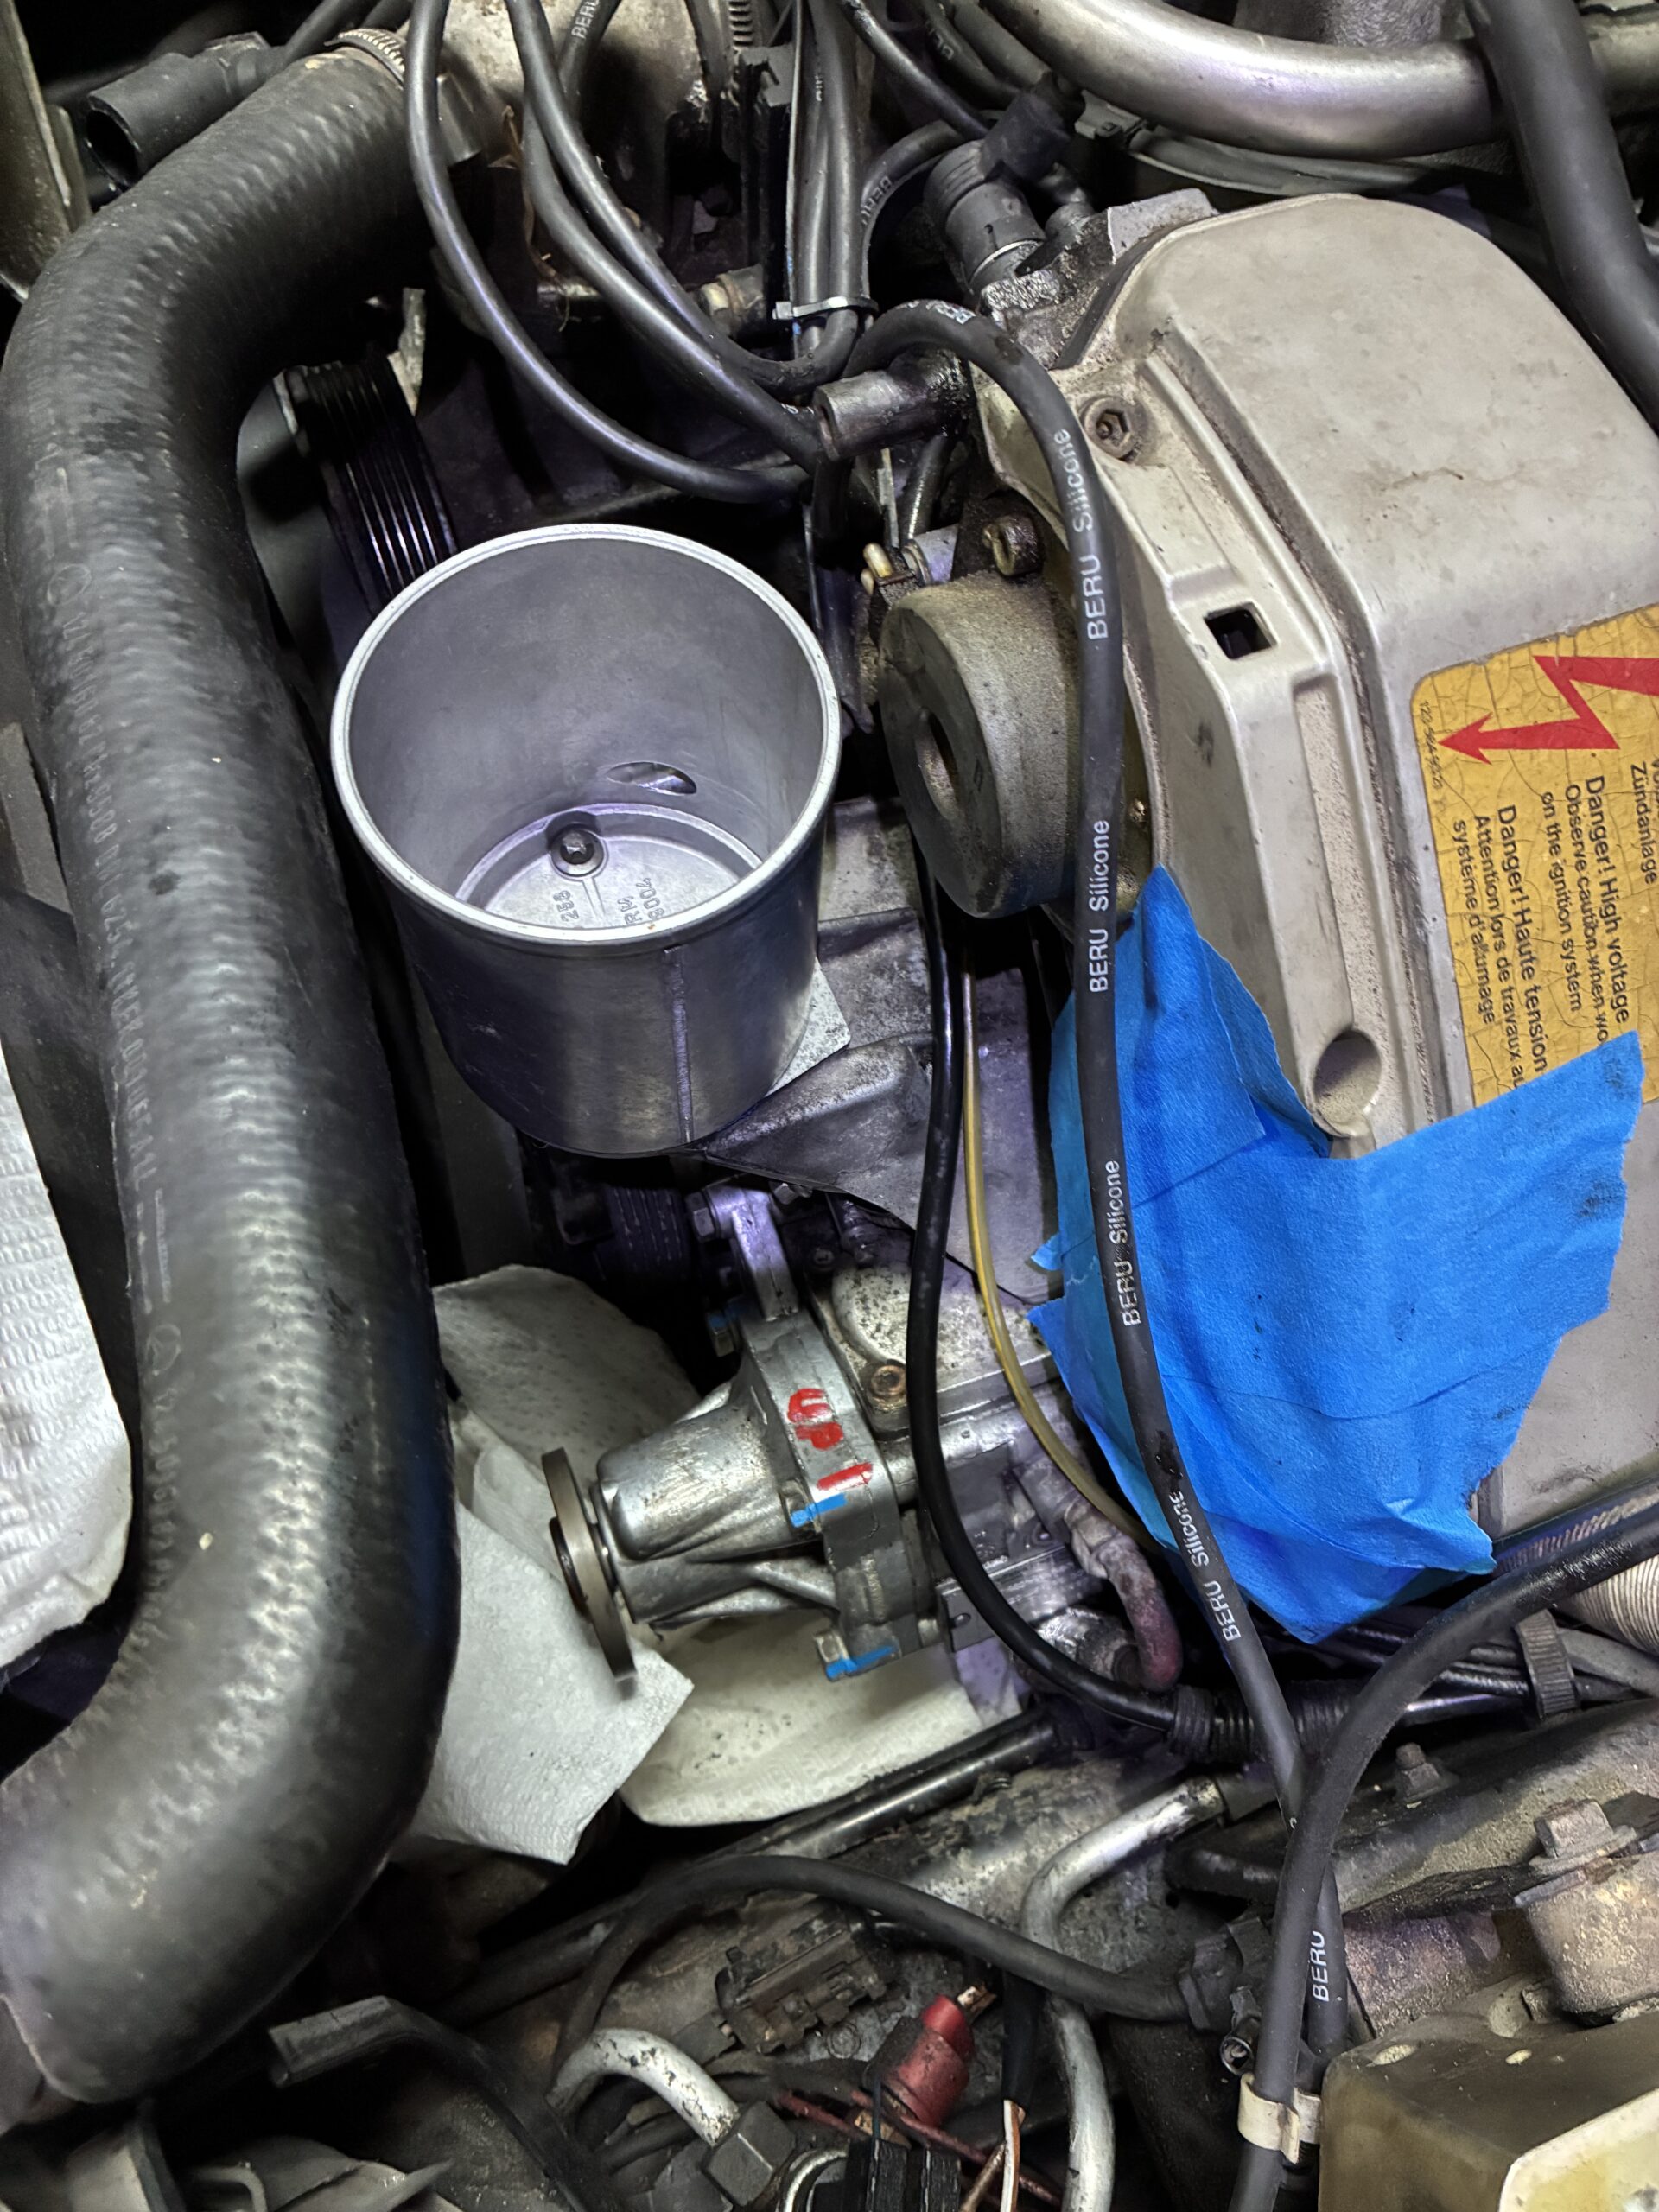
The inlet hose is barely visible under the reservoir bracket and to the rear of the pump housing
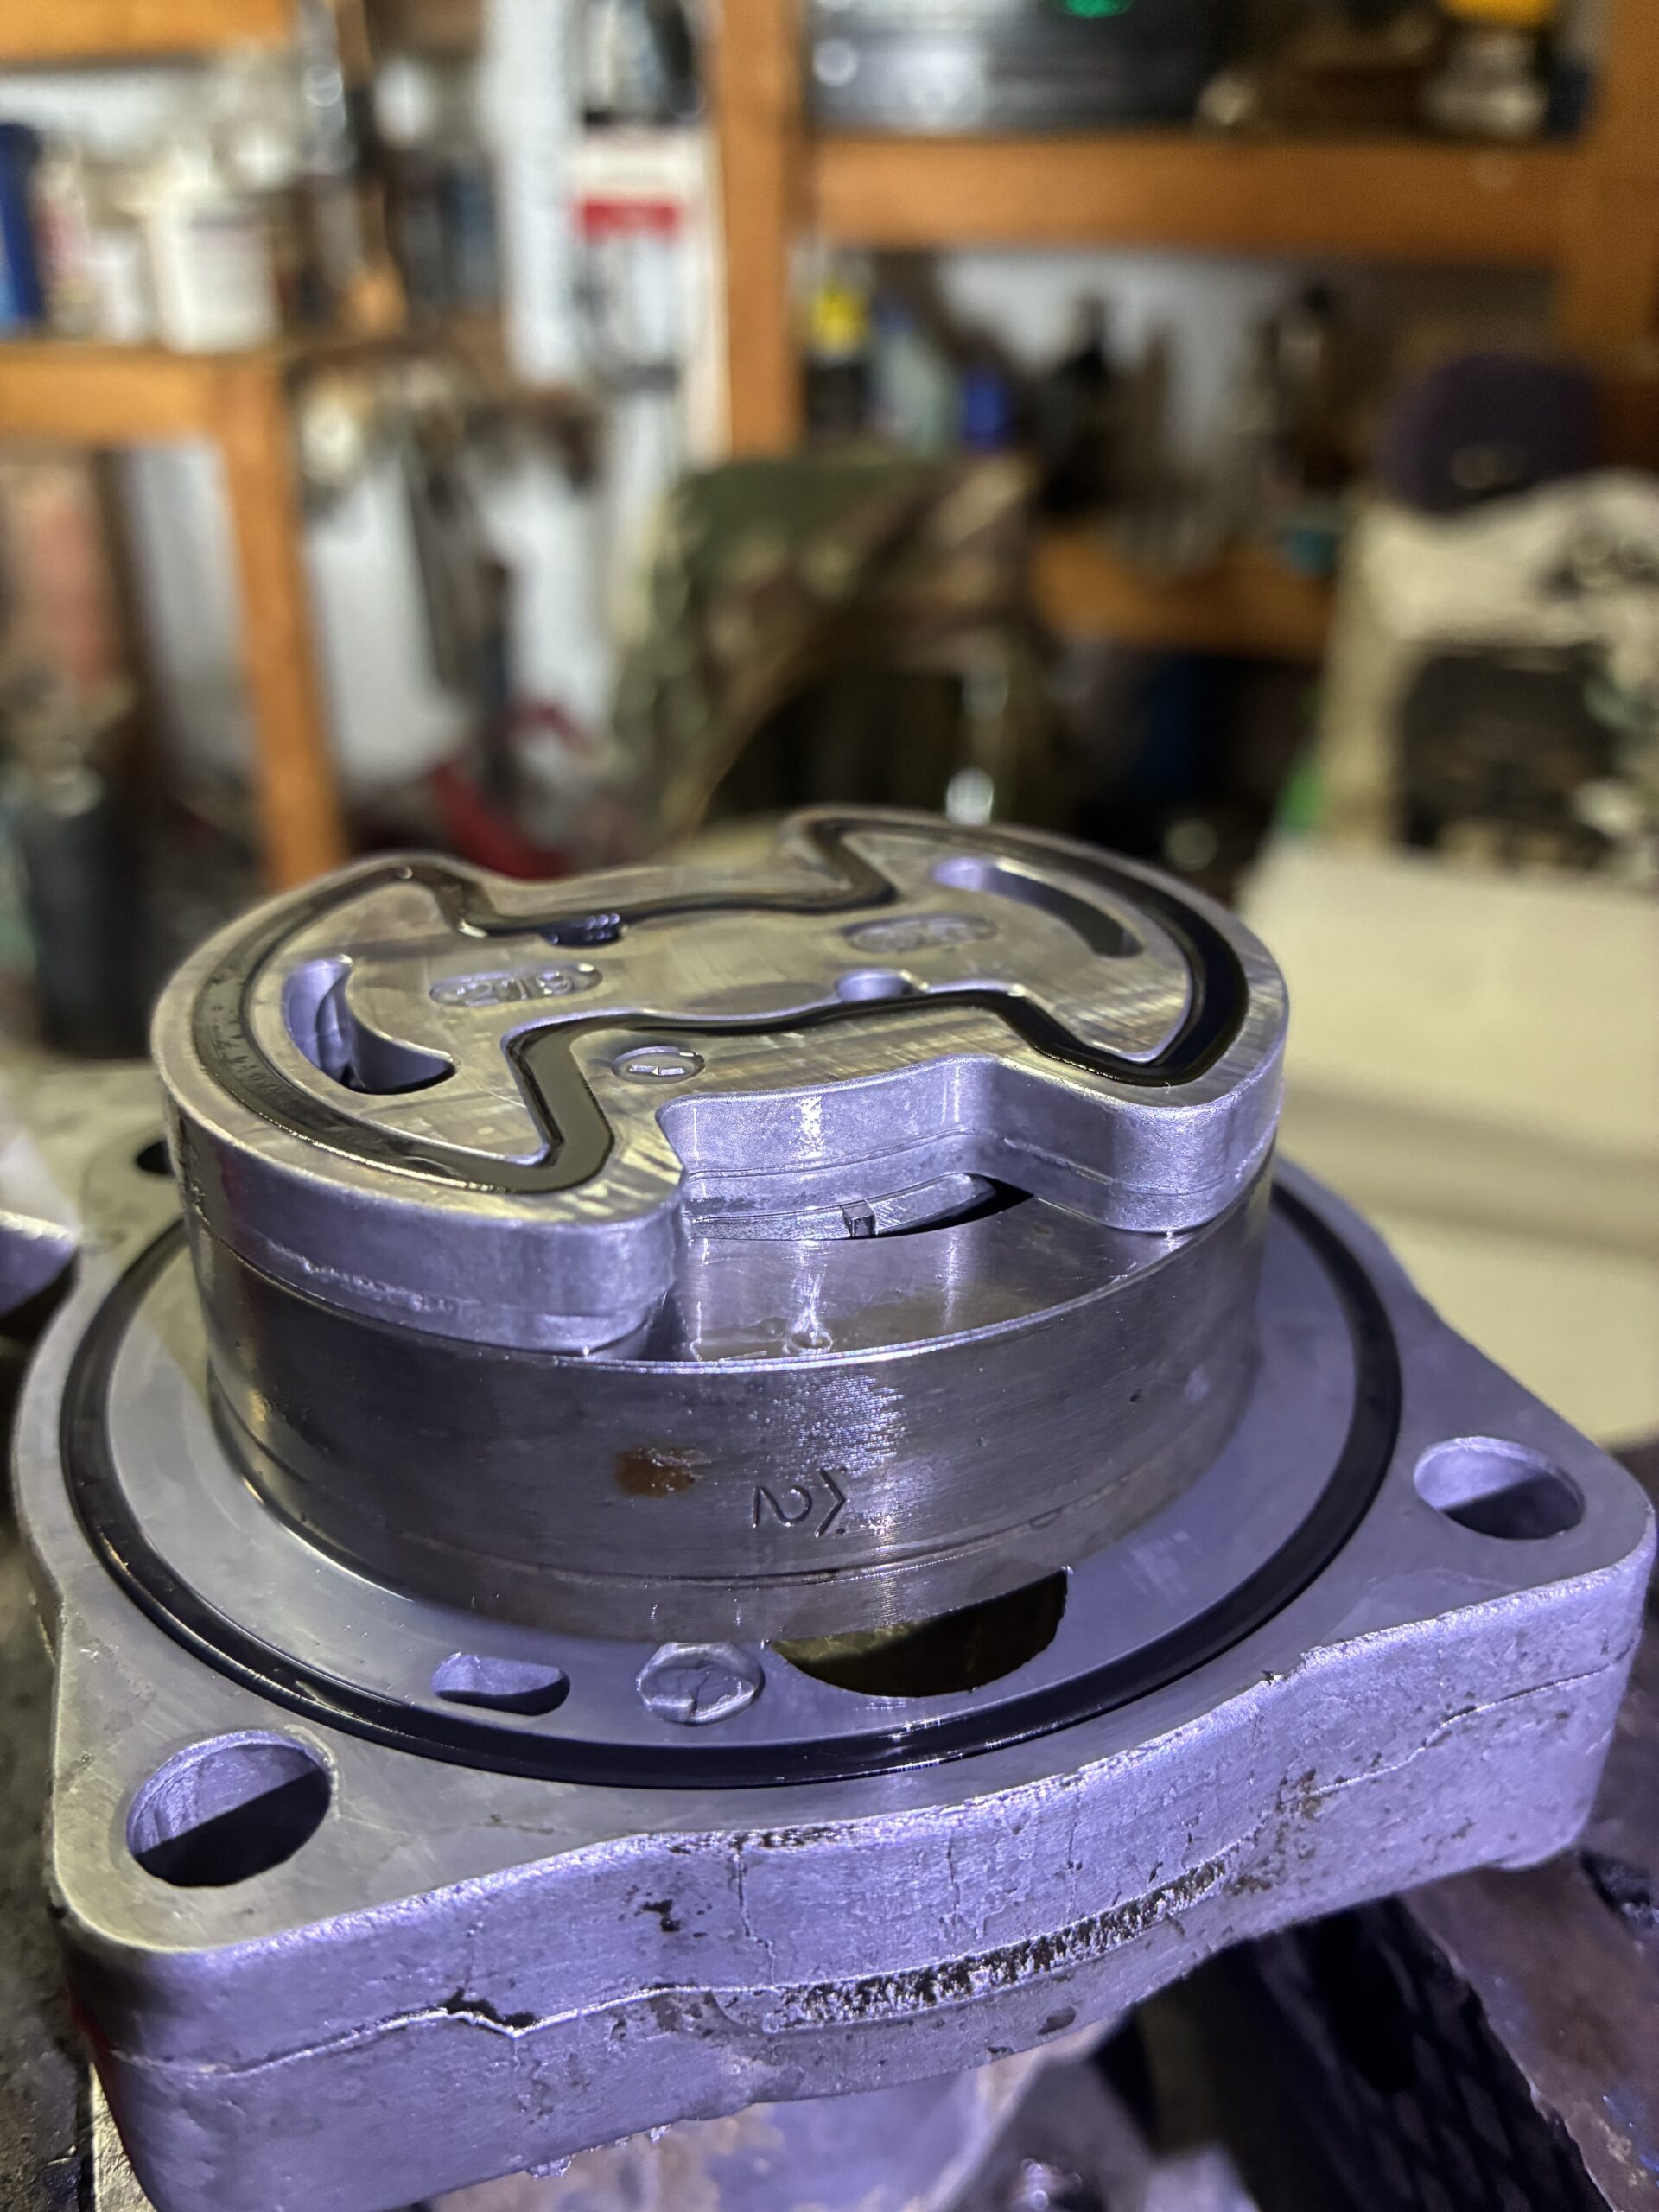
Note the reference alignment marks. This assembly just lifts off.
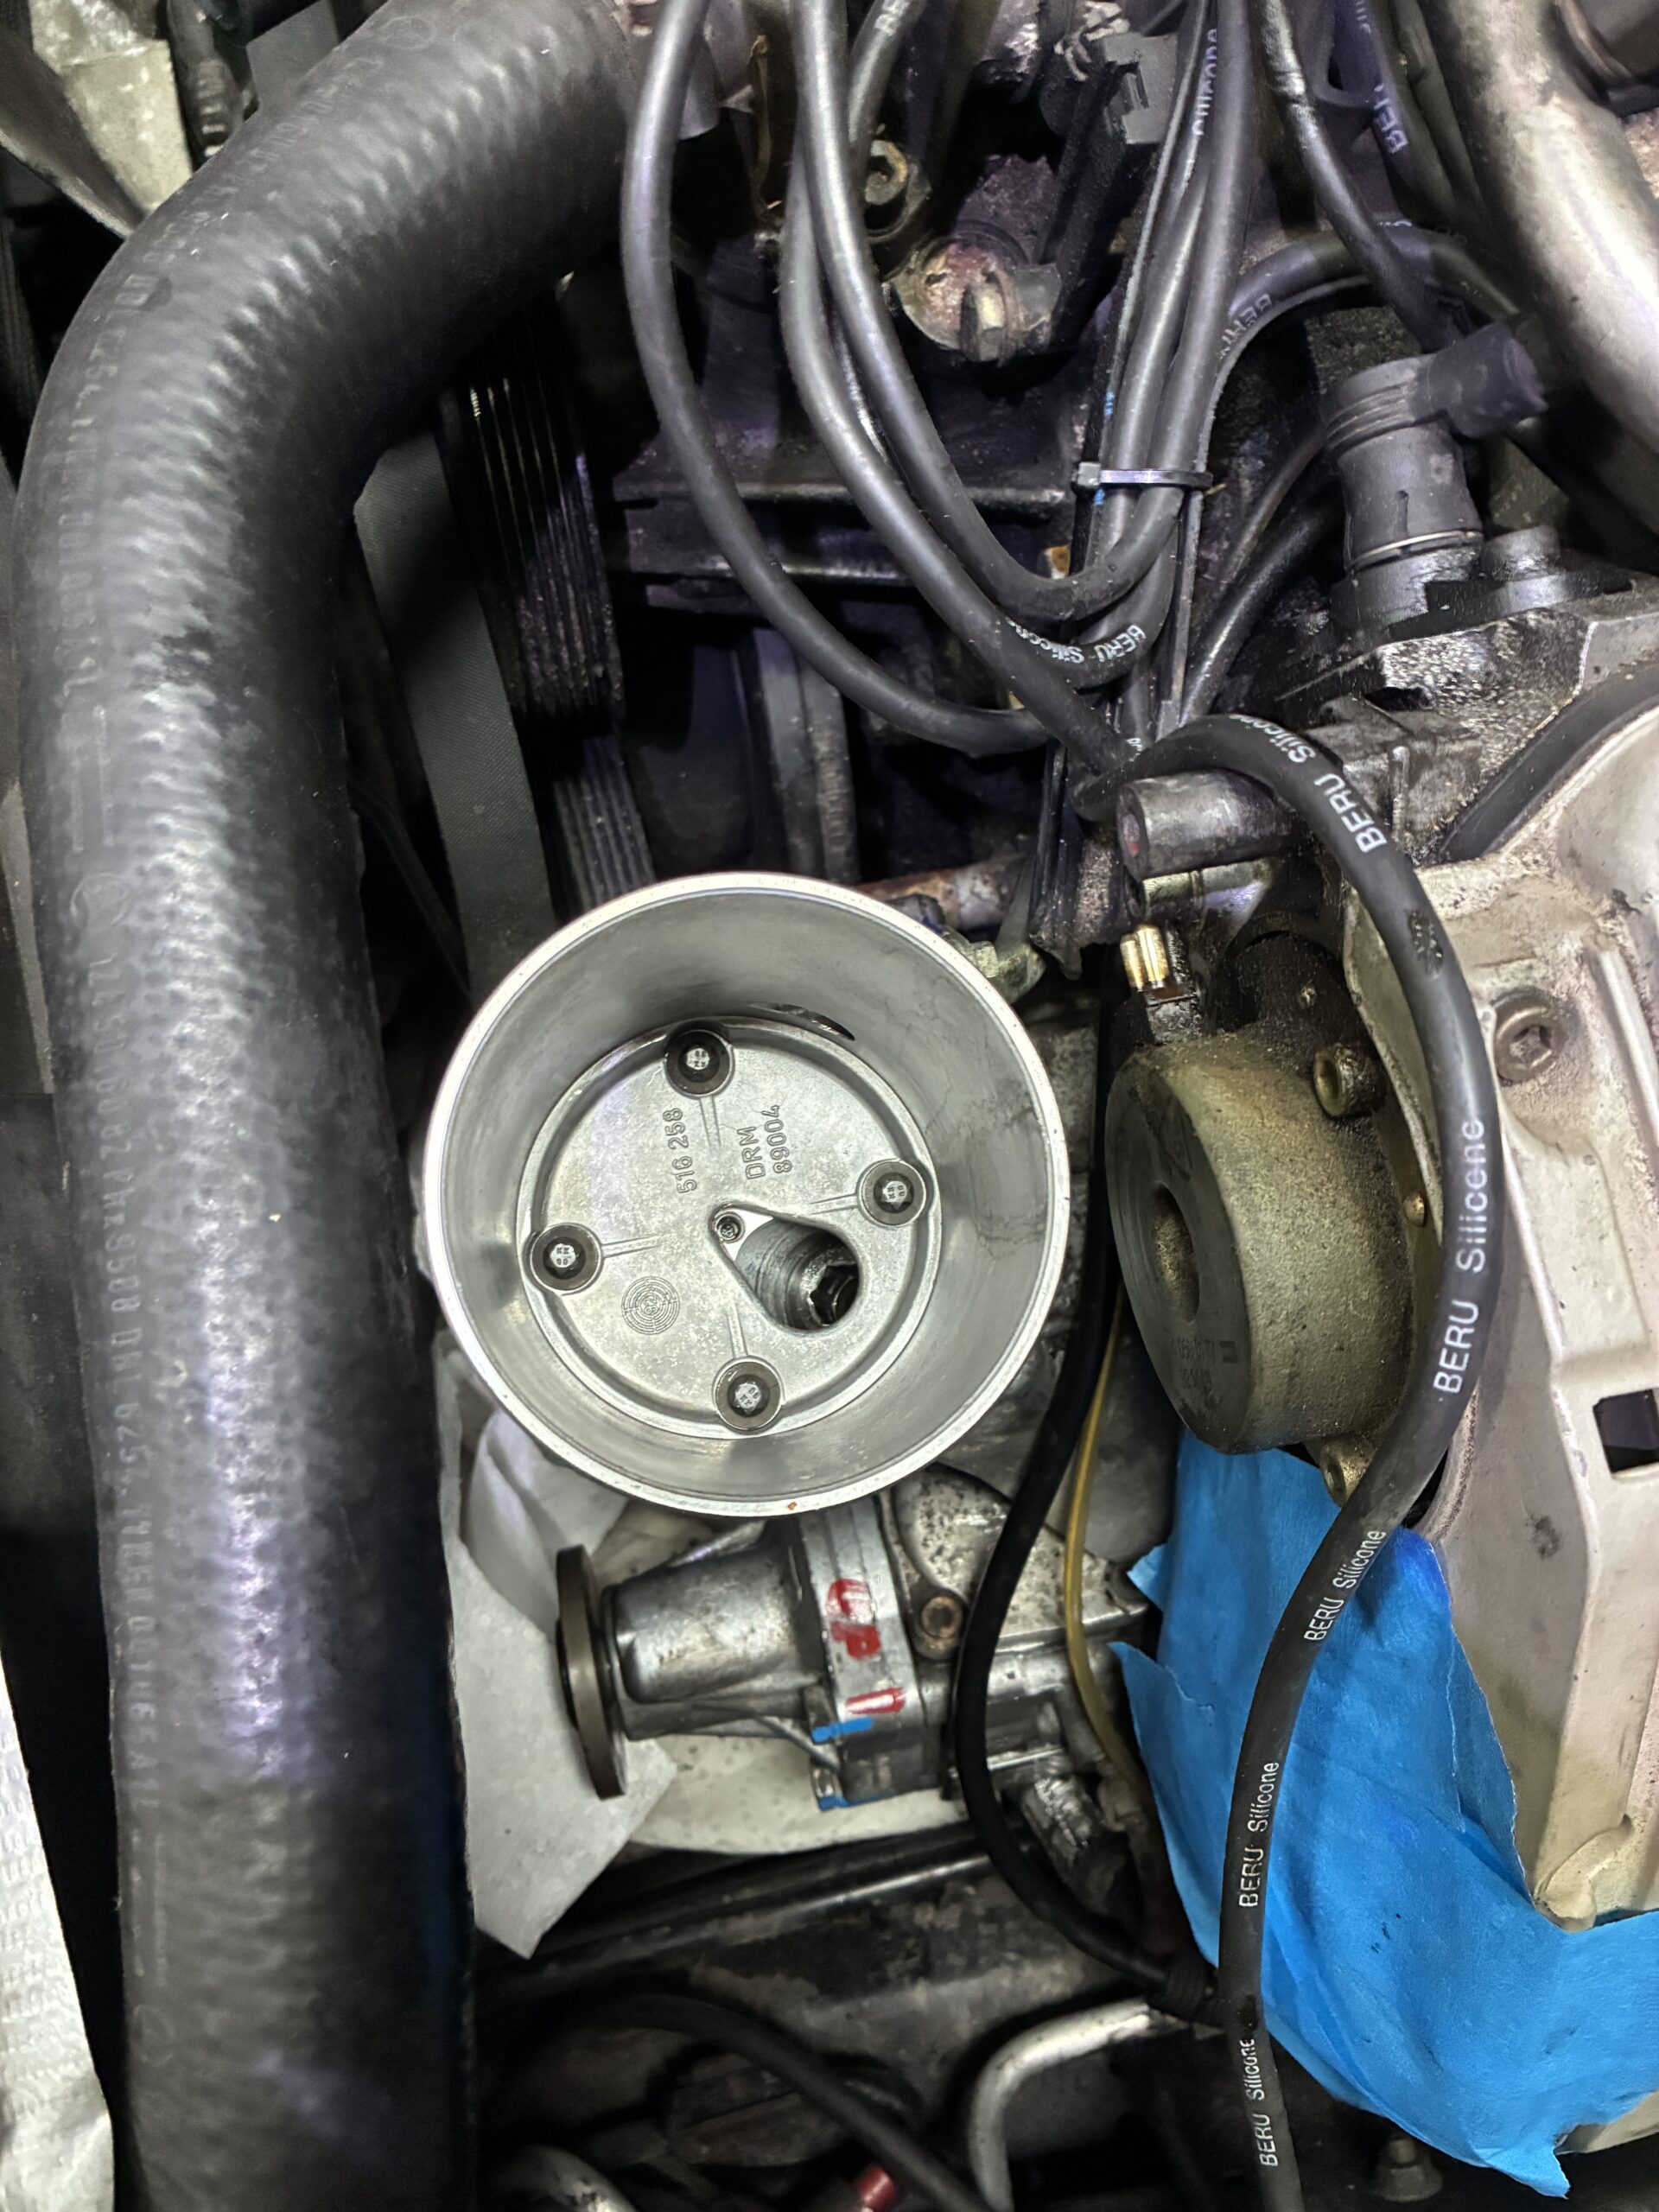
After refitting the reservoir